
MagnetPouch Magnetic Laminating Pouches - For Vehicle Signs 12" x 18" (High Energy 4 pack) - 02MPCAR1218
4 per pack
![]()
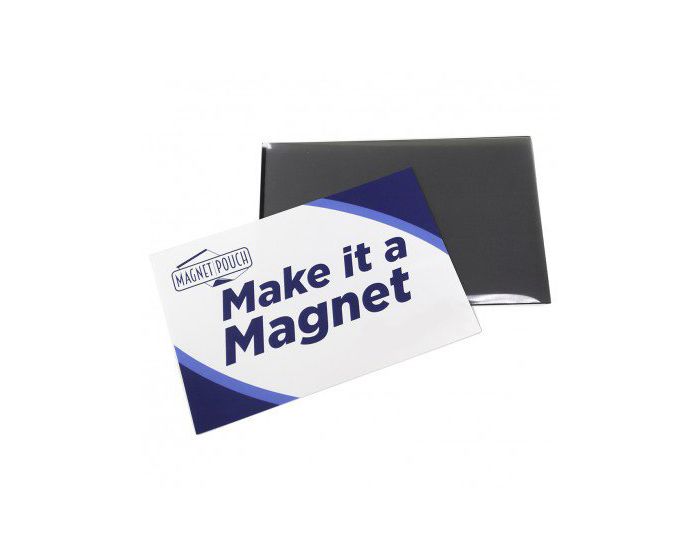
Magnetic laminating pouches are a unique, new product that allow you to create custom-printed magnets at home. All you need is a quality pouch laminator that can handle 10mil pouches and has adjustable heat and speed settings (for best results, your laminator should also have a minimum of 4 rollers), your printed designs, and these unique magnet pouches. They are extremely simple to use, just like a regular laminating pouch. First, print your design and place it between the magnet and laminate sheet, then just run it through your pouch laminating machine with the pre-sealed edge first. On the other side, you will have a quality custom magnet that is perfect for business cards, promotional advertisements, calendars, take-out menus, schedules, photos, and so much more. We even offer a new unique post card magnet, as well as car magnets in the 12" x 18" size so you can advertise your business while you drive.
DIY magnets are 12 mil thick, with a 3 mil laminate sheet that is pre-sealed to one edge of the magnet. The adhesive on the laminate is a low-melt PET film that activates at about 230° - 250° F (110° - 120° C).
How to Use MagnetPouch Magnetic Laminating Pouches:
- Turn on your laminator and allow it to warm up. Depending on your paper stock, different heat or speed settings may be required; however, a good starting point is normally between 230° F and 250° F (110°-120° C) with a slow to medium speed. Because there are so many different laminators in the marketplace, you may need to test several different settings to determine what offers the best results for you. It is recommended that you have extra MagnetPouches to allow for testing and any laminator adjustments that may be required to achieve the desired results.
- While your laminator is warming up, print your design using any printer and any paper stock that is thinner than 14pt (see professional tips below for information on paper stock).
- Place your printed sheet between the magnet and laminate sheet, centering as desired. One of the edges of the laminate will be pre-sealed onto the magnet.
- Once warmed to the proper temperature, run your MagnetPouch through the laminator with the pre-sealed edge first. If your laminator requires a carrier sheet, then first place it into the carrier before laminating.
- When the magnet exits your laminator, remove it from the carrier (if used) and place the magnet on a flat surface for cooling. If bent while cooling, this bend may be permanent.
Professional Tips:
• For outdoor applications that are exposed to weather, it's best to print your image using synthetic sheets, as most synthetic base sheets (PET) tend to act as an insulator and conduct heat at a slower pace. You may need to adjust your laminator settings when using this method, or send the sheet through the laminator more than once. This includes magnets for vehicle signage.
• For short term and indoor use, any standard paper sheet is acceptable.
• Card stock over 14pt thick is not recommended, and it may not seal properly. Anything thicker than standard copy paper may require multiple passes to seal properly.
• Multiple pieces of paper/photographs can be inserted into a larger size Magnet Pouch to make a collage; however, small wrinkles may occur. It is best to print your collage onto one sheet instead.
• Depending on your laminator, you may need to run the magnet pouch through the machine twice for proper application.