
CFS has been in the binding business for over 25 years. We know our way around a spiral binding machine and are happy to let you in on all the secrets. You can watch this quick video on coil binding, or follow along with this article to get started today!
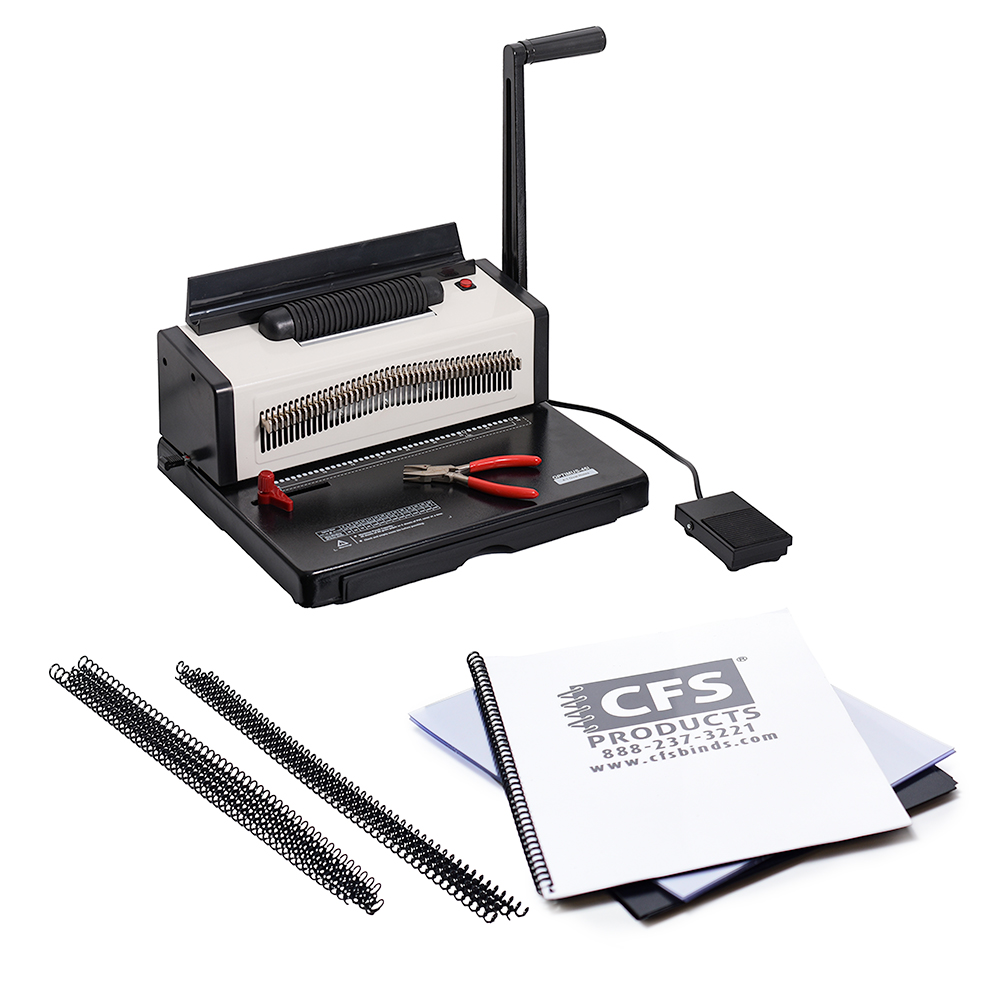
In this article, I will use the Optimus-46i, which comes with the CFS Binding Machine Starter Kit. Order yours here: https://www.cfsbinds.com/optimus-46i-manual-coil-punch-and-electric-coil-inserter-binding-starter-kit.html
Depth Margin Adjuster
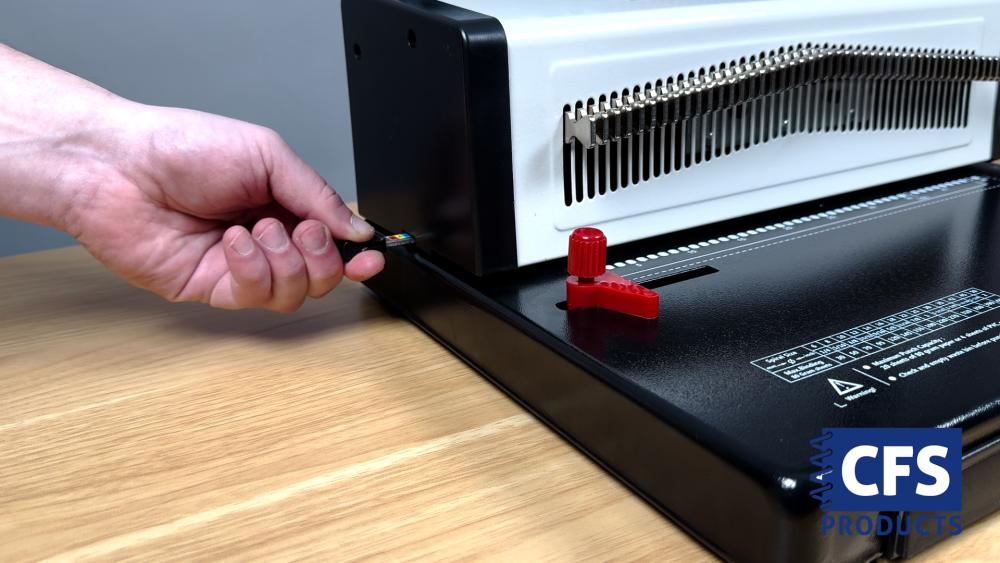
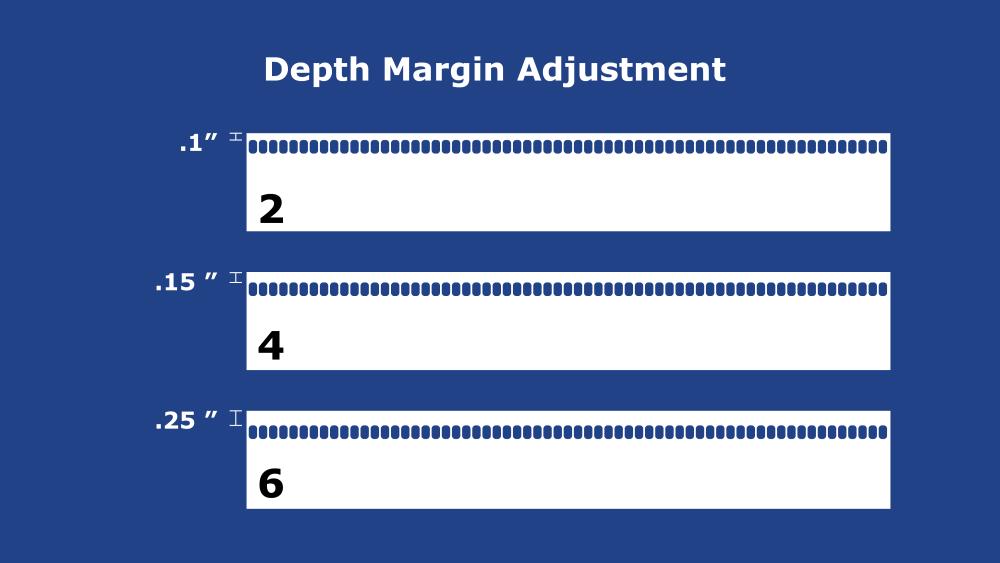
Before we punch holes, it’s important to set up the machine first. On the left-hand side of the spiral binding machine, you will see a pull tab with three numbers on it: 2, 4, and 6. This is the Depth Margin Adjuster, which determines the location of the punch from the edge of the book. Set the tab to your desired setting; see the diagram below for detailed measurements.
Side Margin Guide
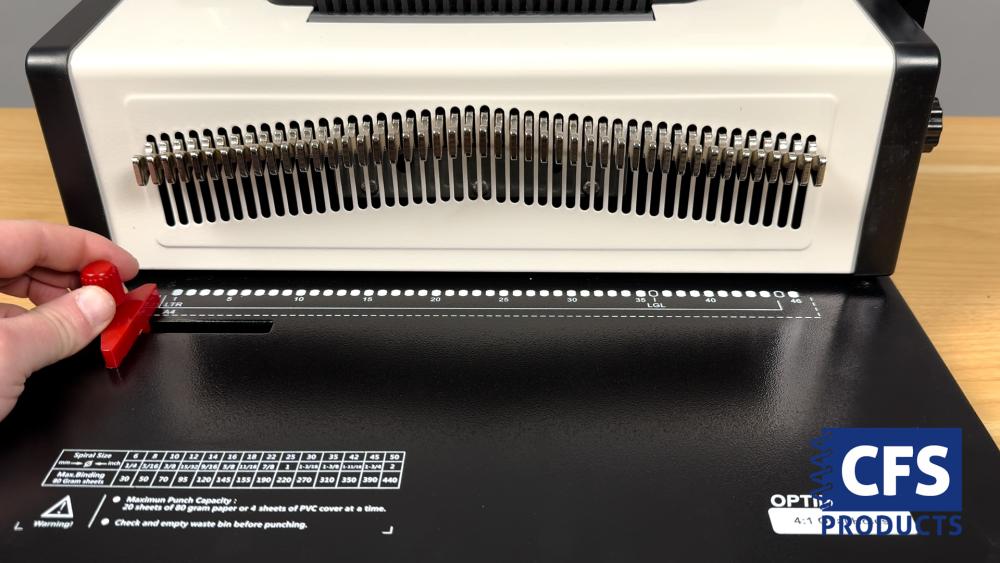
The side margin guide allows you to shift the documents to the right and the left in the punch throat. You can set the side margin guide by lining it up with the label corresponding to the paper size.
Disengageable Pins
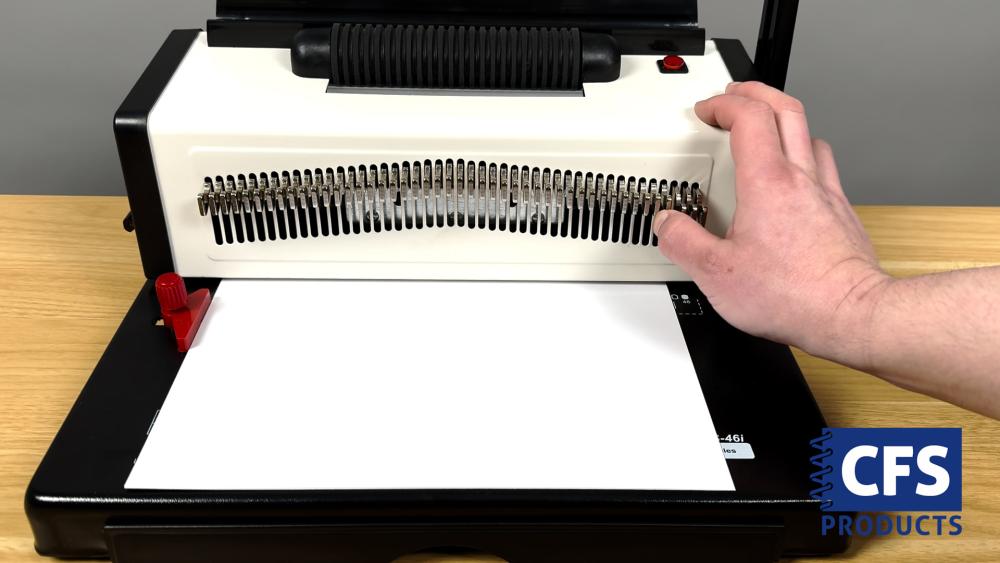
The Optimus-46i has disengageable pins, giving us complete control over our punch. Pulling a pin out will prevent a hole from being punched directly under. Ensure all pins are pushed in where you would like a hole punched in your project.
Punching Holes
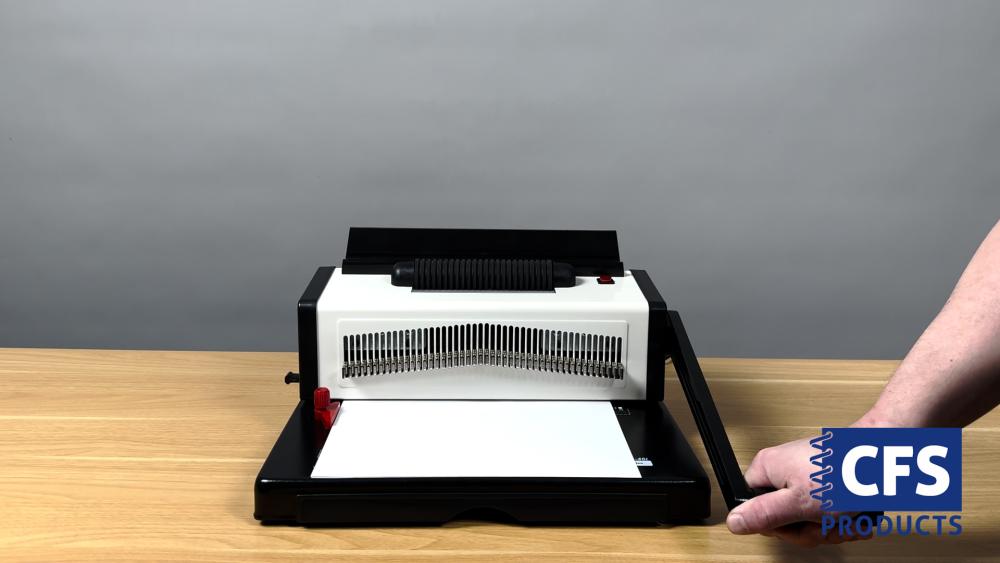
Now that we have adjusted these settings, we are ready to start punching. Insert up to 20 sheets of paper in the punch throat of the machine, pushing the stack up against the side margin guide and the back of the punch throat.
With a firm grip on the handle, pull down to punch holes and push the handle back to its original position. You can now remove the pages from the punch throat, revealing freshly punched holes. Repeat this process for all pages in the documents, front cover, and back cover.
Inserting the Coil
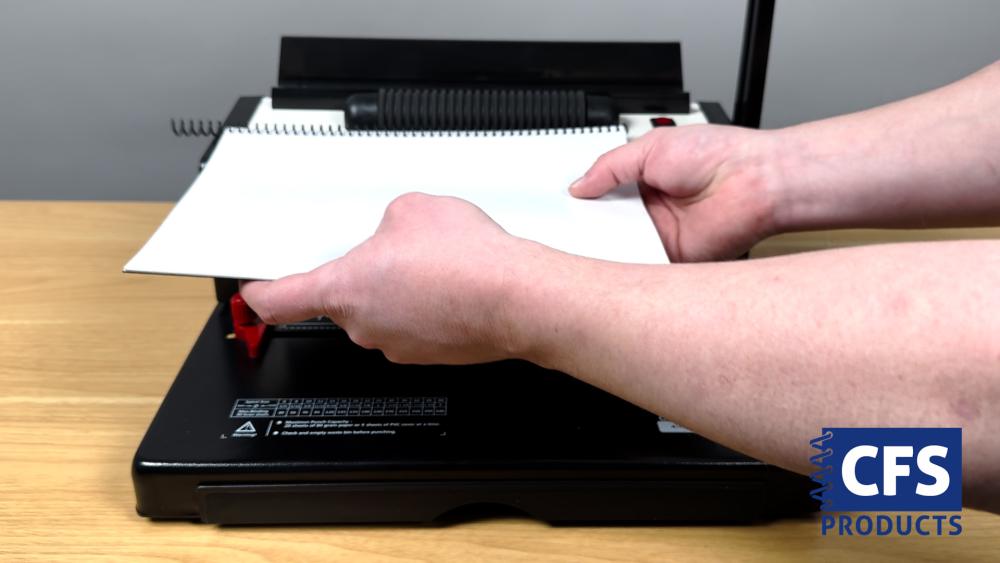
With all pages punched, jog the pages so the holes all line up. Insert a plastic spiral coil, by hand, an inch or two. Turn on the coil inserting roller with the button on top of the spiral book binding machine, or press the foot pedal.
You can slowly touch the coil to the spinning roller to have the coil thread to the end of your document. Trim the excess ends with a pair of coil crimping pliers, with the red dot facing up. This will lock the coil in place, preventing it from coming undone.
Congrats! You now have a spiral-bound book!