Smartphone Passport Photo Printer System
Uses your iOS-enabled iPhone, iPad or Android device to shoot the image and print the picture to the digital photo printer - easy wireless printing, just connect printer to your Wi-Fi network. Includes printer, paper tray, 2"x2" tabletop passport photo cutter, 108 sheet pack of paper/ink print media, power cables, manual & printed Quick Reference Guide. Smartphone/tablet not included.
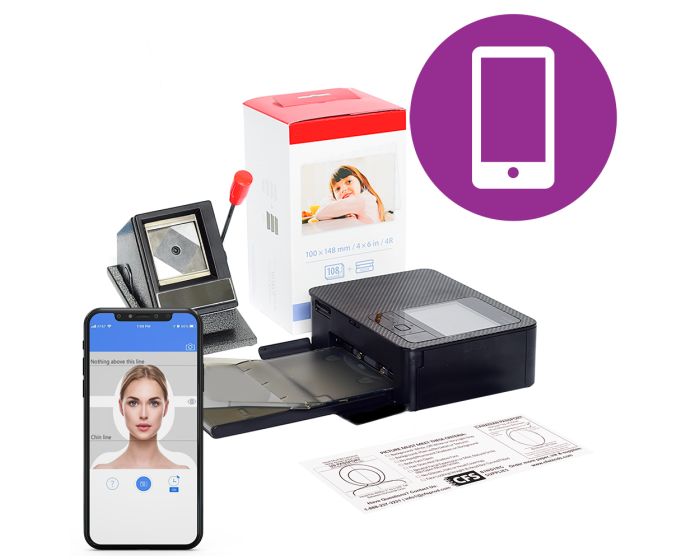
We’ve created a unique passport photo solution that utilizes your smartphone camera and connects it to a printer for easy and quick passport photos. Using a free app, your iPhone, iPad or Android screen displays an overlay, showing you exactly where to align the subject for a perfect photo every time. Just connect the printer to the same wifi network as your device and you can print pre-formatted, cropped 2x2 inch photos in less than 60 seconds wirelessly from your device.
Most of the setup is already done: the app and printer are ready to go for US passport photos. Our simple, easy-to-follow instructions show you how to connect the printer to your wifi network and it remembers the settings even when turned off and back on. Print directly from the app, no wires and no memory card to deal with. Should you ever want to upgrade and add a camera with a flash (or if your wifi goes down), we’ve preconfigured the printer to also print USA sized passport photos from an SD memory card.
Kit Contents:
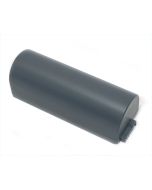
- Digital Photo Printer (pre-configured for USA passports)
- Paper Tray
- AC Power Adapter
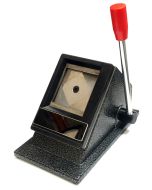
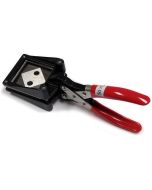
- Tabletop Cutter for 2x2” USA Passports
- Operator Manual for Printer
- Printed Quick Reference Instruction Sheet
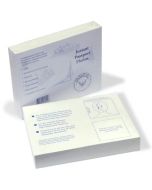
- 108 Sheet Pack of Paper/Ink Ribbons
Note: The app disables the flash, so this solution can only be used in areas with ample, bright lighting.
Requires iOS 9.0 or later - works with your iPhone, iPad, or Andriod device.
Smartphone or tablet not included.
iOS, iPhone iPad & iPod Touch are registered trademarks of Apple, Inc. and not affiliated with CFS Products.
| Color | Black |
|---|
With the Smartphone Passport Photo Printing system, you can create professional passport photos in minutes. This quick operational video walks you through the process and gives resources for the apps to use with our system.
What Comes With the Mobile Passport Photo Printing System?
Check out this short video to see what is included in the Mobile Passport Photo Printing System.
Tips For Taking The Perfect Passport Photos
Video by the Consular Affairs at the Department of State. More information is available at https://travel.state.gov/content/travel/en/passports/requirements/photos.html